Bloc Pattern in Flutter – How to Handle Events and State?
Introduction
The Bloc pattern in Flutter has become a popular choice for developers looking to manage state and handle events efficiently. This article will delve into the Bloc pattern’s essential components, its benefits, practical implementation tips, and a hands-on case study. By the end, you’ll have a firm understanding of how to harness the Bloc pattern in your Flutter applications for better scalability and maintainability.
What is the Bloc Pattern?
Bloc, which stands for Business Logic Component, is a design pattern that separates the business logic from the user interface in a Flutter request. this pattern enhances the overall architecture of your application, leading to cleaner, more manageable code. Here are the core components of the Bloc pattern:
- Bloc: A class that manages the state of your application.
- Event: An action or occurrence that triggers a change in the state.
- State: Represents the outcome of an event; it reflects the current condition of your application.
How Bloc Handles Events and State
The process of handling events and state in the Bloc pattern involves several steps:
- Defining Events: Create a class or classes that represent different types of events your Bloc can handle.
- Defining States: Create a class or classes that represent the various states your UI can be in.
- Mapping Events to States: Within the Bloc, implement a function that takes an incoming event and maps it to an appropriate state.
- Listening to State Changes: In your Flutter widget, listen for state changes emitted by the Bloc and update the UI accordingly.
Benefits of Using the Bloc Pattern
The Bloc pattern offers several benefits that make it an ideal choice for managing state in Flutter applications:
- Separation of Concerns: Clearly separates presentation from business logic, ensuring cleaner code.
- Testability: Makes it easier to test your business logic since it is decoupled from the UI.
- Scalability: Simplifies the process of scaling your application as it grows in complexity.
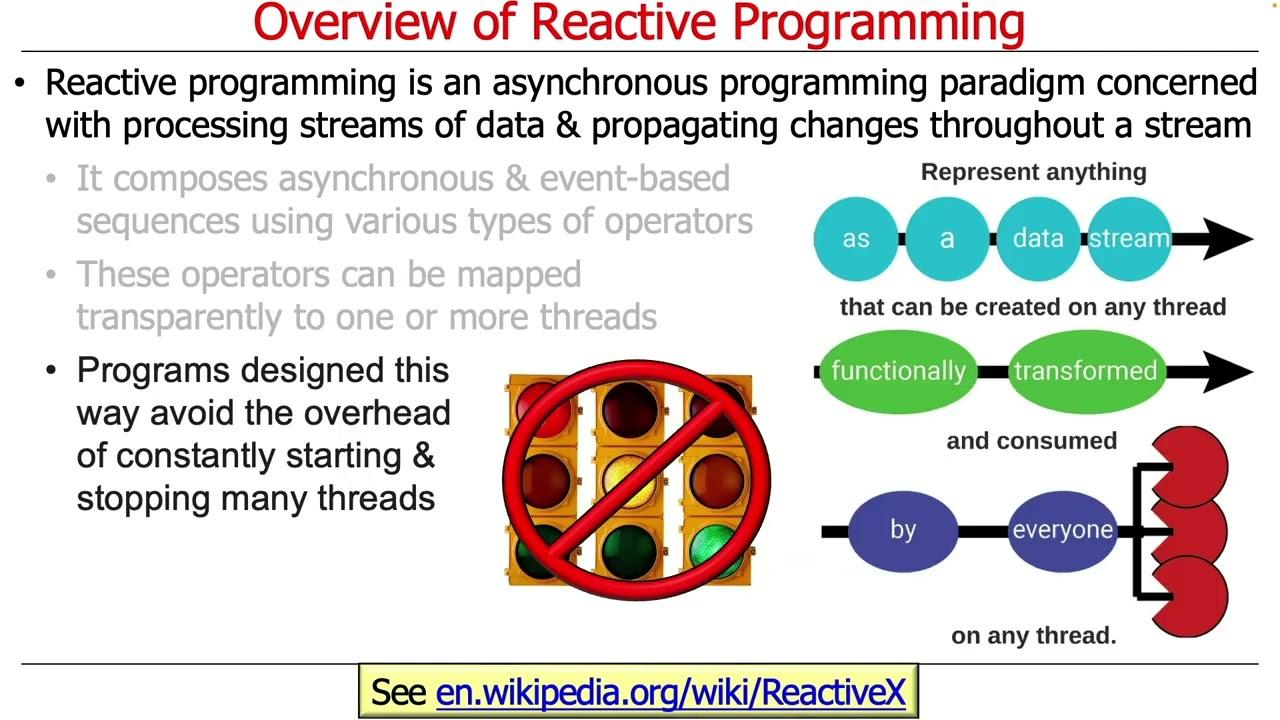
- Reactive Programming: Supports reactive programming principles, allowing for a more dynamic app experience.
Practical Tips for Implementing Bloc in Flutter
To effectively implement the bloc pattern, consider the following tips:
- Keep Events and States Simple: Focus on maintaining clarity and simplicity in your event and state definitions.
- Utilize Flutter Bloc Library: Leverage the Flutter Bloc library to simplify implementation and make use of pre-built utilities.
- Test Your Bloc: Write unit tests for your Bloc to ensure that state transitions occur as expected.
- Use Streams Wisely: Make sure to use Streams effectively to listen for changes in state and react accordingly in the UI.
Case Study: Implementing Bloc in a Flutter Application
Let’s illustrate the application of the Bloc pattern with a simple case study of a counter app. The goal is to implement a counter that increments when a button is pressed. Here’s a high-level overview of how to do this:
Step 1: Define Events
abstract class CounterEvent {}


class IncrementEvent extends CounterEvent {}
Step 2: Define States
abstract class CounterState {

  final int counterValue;

  CounterState(this.counterValue);

}


class CounterInitial extends CounterState {

  counterinitial() : super(0);

}


class CounterUpdated extends CounterState {

  CounterUpdated(int value) : super(value);

}
Step 3: Create Bloc Class
class CounterBloc extends Bloc {

  CounterBloc() : super(CounterInitial());


  @override

  Stream mapEventToState(CounterEvent event) async* {

    if (event is IncrementEvent) {

      yield CounterUpdated(state.counterValue + 1);

    }

  }

}
Step 4: Use Bloc in UI
use the bloc in your Flutter widget to update the UI based on state changes:
class CounterScreen extends StatelessWidget {

  @override

  Widget build(BuildContext context) {

    return BlocProvider(

      create: (context) => CounterBloc(),

      child: Scaffold(

        appBar: AppBar(title: Text("Counter")),

        body: BlocBuilder(

          builder: (context, state) {

            return centre(

              child: Text("Counter Value: ${state.counterValue}"),

            );

          },

        ),

        floatingActionButton: FloatingActionButton(

          onPressed: () {

            context.read().add(IncrementEvent());

          },

          child: Icon(Icons.add),

        ),

      ),

    );

  }

}
Conclusion
The Bloc pattern in Flutter proves to be an invaluable approach to managing events and application state. By implementing the Bloc pattern, developers can achieve better organization in their code, increased testability, and scalable architectures that adapt to evolving project needs. With the guidance provided in this article,you are now equipped with the knowledge to apply the Bloc pattern effectively in your Flutter applications. So,why not start today and enhance your Flutter projects with this powerful pattern?